

I remember the exact moment I realized I needed a landing page. I had just spent a week putting together a really helpful PDF checklist for my niche. I was so excited to share it. But when I went to post about it on Twitter, I froze.
Where do I send them?
I didn’t have a website yet. I didn’t want to spend $200 on hosting and a WordPress theme just to give away a free PDF. And I definitely didn’t want to pay $90/month for a premium tool like ClickFunnels or Leadpages when I had exactly zero subscribers.
If you’re in that exact same spot right now—you have an idea, a lead magnet, or a coaching service, but no website—take a deep breath.
You don’t need to learn how to code. You don’t need to buy a domain right this second. In this guide, I’m going to show you the exact method I use to spin up professional, high-converting landing pages for free in about 15 minutes.
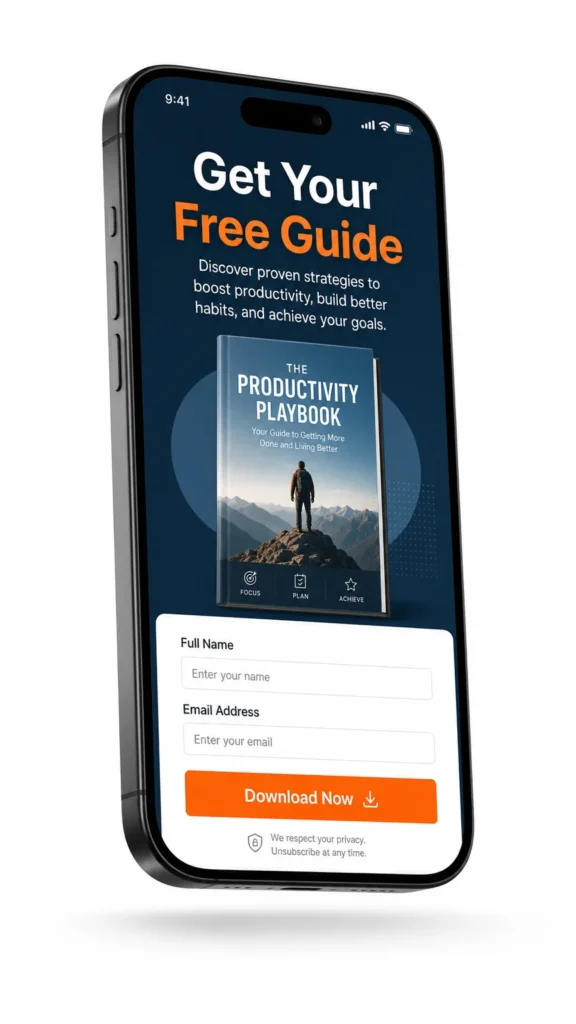
The “Secret” Tool I Use (That Isn’t Actually a Landing Page Builder)
When most people search for “free landing page builder,” they get bombarded with ads for standalone page builders. The problem with these tools is that their “free” plans are usually heavily restricted, and worse, you still have to figure out how to connect them to an email service to actually collect the leads. It requires using tools like Zapier, which just adds another layer of technical frustration.
Instead, I use AWeber.
Yes, AWeber is known as an email marketing platform. But over the last couple of years, they’ve quietly built one of the best drag-and-drop landing page builders on the market—and it’s completely free to use.
The massive advantage here is the seamless integration. When someone enters their email on an AWeber landing page, they are instantly added to your AWeber email list. No duct-taping software together. It just works.
You can grab a free AWeber account here to follow along with my exact steps.
Step 1: Skip the Blank Canvas
Once you’re inside your AWeber dashboard, go to the left menu, click “Pages & Forms,” and hit “Landing Pages.”
Do not start from scratch. Staring at a blank white screen is the fastest way to get overwhelmed. AWeber has a gallery of pre-designed templates.
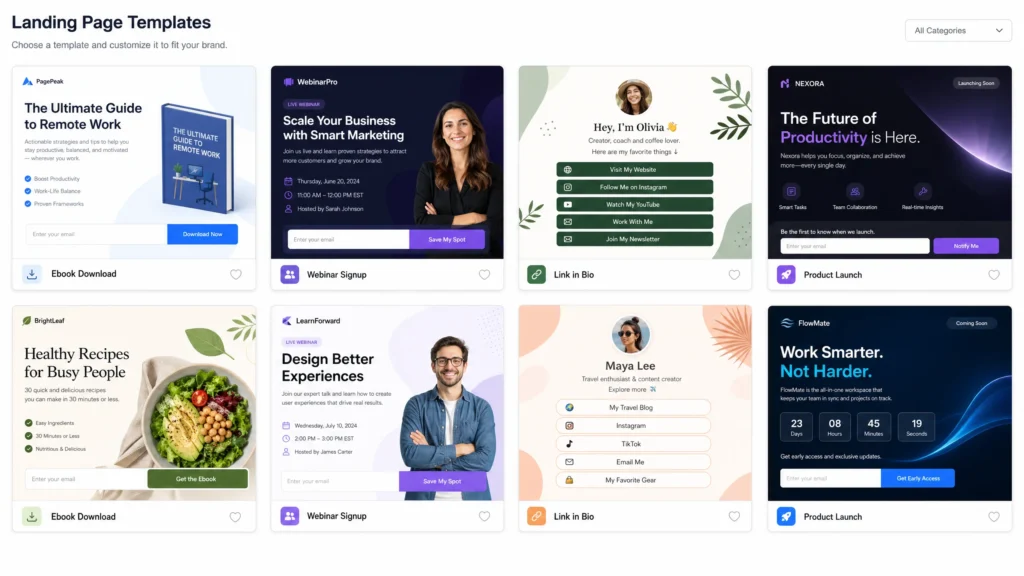
Here’s a rule I learned the hard way: Ugly pages often convert better than “beautiful” ones.
Don’t pick a template with video backgrounds, three different columns, and crazy animations. Pick the simplest one you can find. I usually start with the “Simple Opt-In” or “Ebook Download” templates. You want your visitor to have exactly two choices: fill out the form, or close the tab. No distractions.
Step 2: The 3-Minute Copywriting Formula
Now we are in the editor. AWeber’s editor is true drag-and-drop. You click a text block, and you type.
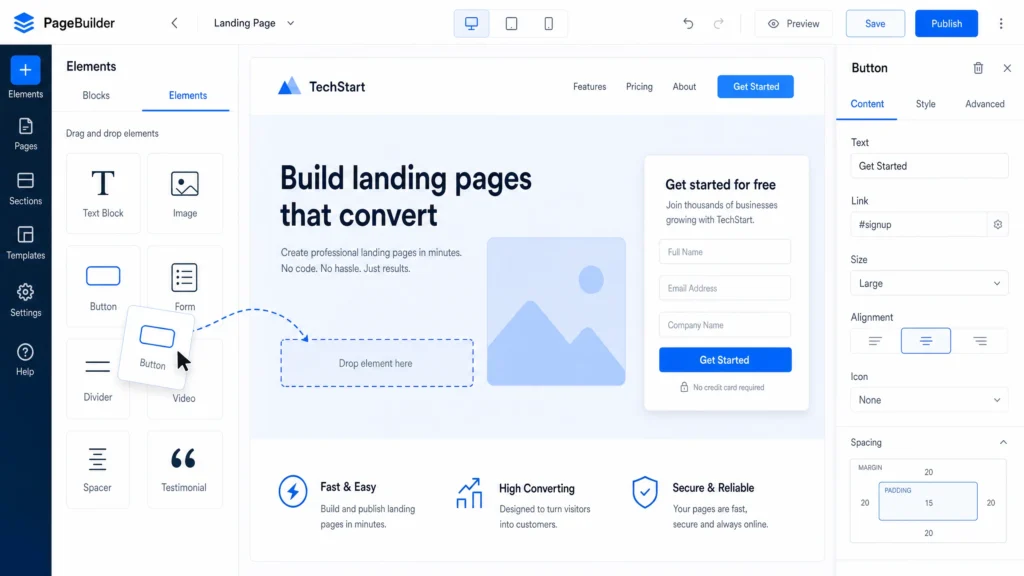
Here is exactly how I structure the copy on my pages to get conversion rates above 30%:
- The Headline (The Hook): Delete whatever generic text is there. Your headline must state the specific result they will get.
- Bad: “Sign up for my newsletter.”
- Good: “Get the Exact 5-Step Checklist I Used to Double My Traffic.”
- The Sub-headline (The Bridge): Briefly explain how they will get that result.
- Example: “Download this free 2-page PDF and stop guessing what to post on social media.”
- The Image: If you are giving away a PDF, use Canva to create a quick 3D mockup of the cover. It makes a digital file feel like a tangible, valuable object. (AWeber actually has a Canva button right inside the editor, which is incredibly handy).
- The Form Fields: Keep it to “First Name” and “Email.” If you don’t absolutely need their name, just ask for the email. Every extra field you add kills your conversion rate.
Step 3: The “Thank You” Page Handoff
This is a step most beginners miss. When someone clicks “Submit,” what happens?
By default, they might just see a small green checkmark. That’s a wasted opportunity. In AWeber, you can configure the form to redirect them to a Custom Thank You Page (which you can also build for free in AWeber).
On that Thank You page, tell them exactly what to do next: “Success! Your checklist is on its way to your inbox. It should arrive in the next 2 minutes. Make sure to check your spam folder just in case!”
Step 4: Hit Publish (And Fix the URL Later)
When you hit publish, AWeber will give you a live link. It will look something like yourname.aweb.page/p/something.
Is it the prettiest URL in the world? No. Does it matter when you are just starting out and testing an idea? Absolutely not.
I’ve generated hundreds of leads using those exact default URLs by putting them in my Twitter bio and YouTube descriptions. People care about the value you are offering, not the URL structure.
(Note: Once you validate your idea and decide you want to look more professional, AWeber does allow you to connect a custom domain like yourbrand.com directly to the landing page, which is a great feature for later).
Stop Waiting for Perfect
The biggest barrier to starting an online business isn’t a lack of money or coding skills. It’s the belief that everything has to be perfect before you launch.
You don’t need a massive WordPress site to validate your idea. You just need a single page, a good offer, and a way to collect emails.
I built my first list of 500 subscribers using exactly the method I just showed you. You can do the same today.
Click here to create your free AWeber account and build your page right now. It’s time to get your idea out into the world.